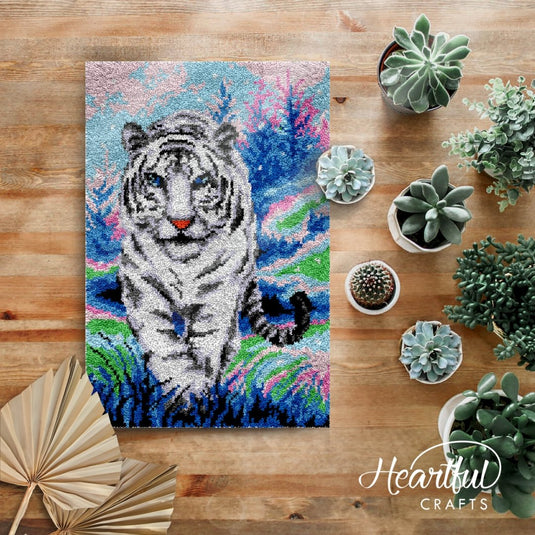
Creating a beautiful and unique rug through latch hooking can be a rewarding and enjoyable experience for beginners. This step-by-step guide will walk you through the process of making your own latch hook rug, starting from choosing the right materials to completing your masterpiece.
1. Begin by gathering all the necessary materials. You will need a latch hook canvas, latch hook tool, yarn in various colors, scissors, and a rug binding kit. Make sure to choose a latch hook canvas with a grid pattern that is easy to follow, especially for beginners. Select yarn in colors that you want to incorporate into your rug design.
2. Once you have all your materials ready, it's time to start on your design. You can either create your own pattern or use a pre-existing design to guide you. Transfer the design onto the latch hook canvas using a pen or marker, making sure each square corresponds to a specific color of yarn.
3. Now comes the fun part – latch hooking! Start by threading the latch hook tool with a piece of yarn. Hold the tool at a 90-degree angle to the canvas and insert it under a square of the grid. Hook the yarn onto the tool and pull it through the canvas, creating a loop on one side and two tails on the other. Repeat this process for each square according to your design.
4. As you continue latch hooking, you will start to see your design taking shape on the canvas. Make sure to be consistent with your technique to ensure that the loops are of the same height and tightness throughout the rug. Take your time and enjoy the process of watching your creation come to life.
5. Once you have completed hooking all the squares on the canvas, it's time to finish off the edges of the rug. Use a rug binding kit to secure the edges and prevent fraying. Follow the instructions provided in the kit to attach the binding to the edges of the rug, giving it a clean and polished look.
6. Finally, trim any excess yarn from the loops to create an even surface for your rug. Use sharp scissors to carefully cut the loops at the desired length, making sure not to cut too close to the canvas. Fluff up the yarn with your fingers to give the rug a plush and cozy texture.
7. Voila! Your latch hook rug is now complete and ready to be displayed in your home. Admire your handiwork and feel proud of the unique piece of art you have created through this traditional craft. Whether you choose to hang it on the wall or place it on the floor, your latch hook rug will surely be a conversation starter and a cherished item in your space.
In conclusion, latch hooking is a fun and creative way to make your own custom rugs, even as a beginner. By following these simple steps and being patient with the process, you can create a beautiful and functional piece of art for your home. So gather your materials, choose a design, and start latch hooking your way to a cozy and stylish rug that reflects your unique personality and creativity.